Troubleshooting Custom Domains
Custom DNS Domain Stopped Working
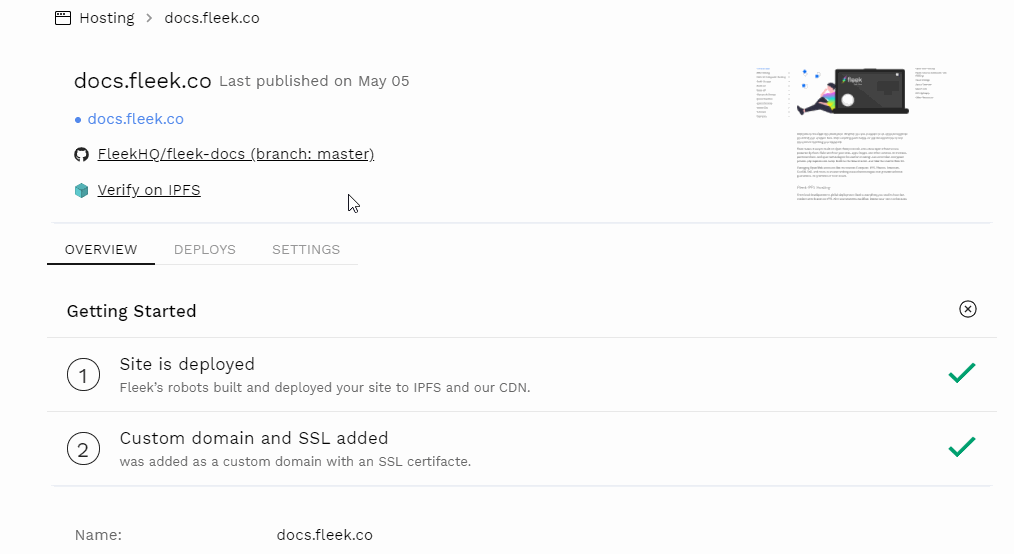
The first thing you can check is if your site is visible on the "Verify on IPFS" link on your Fleek dashboard. Visit your Fleek dashboard (the hosting tab) and select your affected site to find this button. See the gif below for a reference.
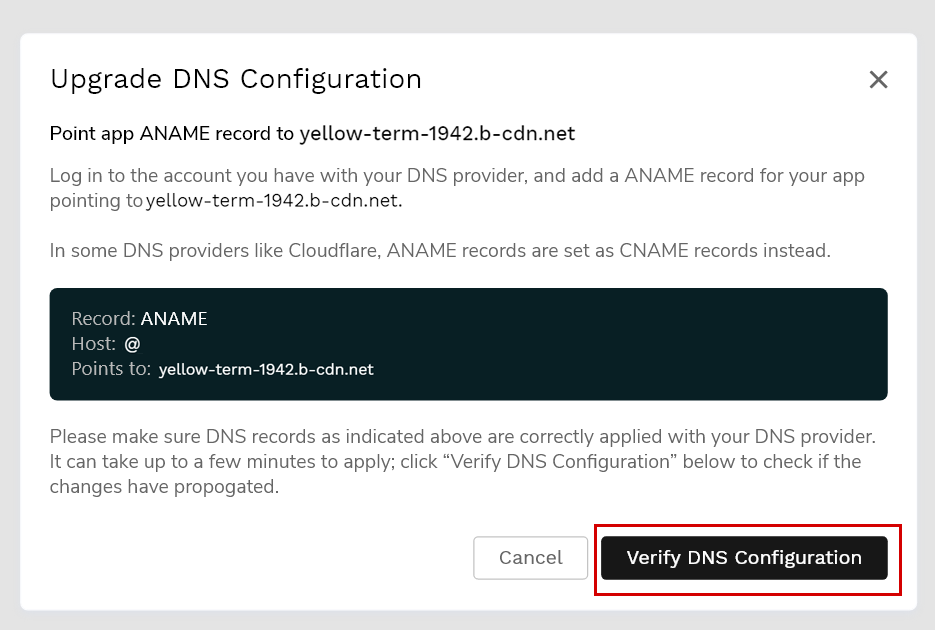
Can you access your site via the IPFS link? Then the most possible scenario is you're using our old DNS configuration and need to upgrade. Follow the steps on this documentation to update your domain records.
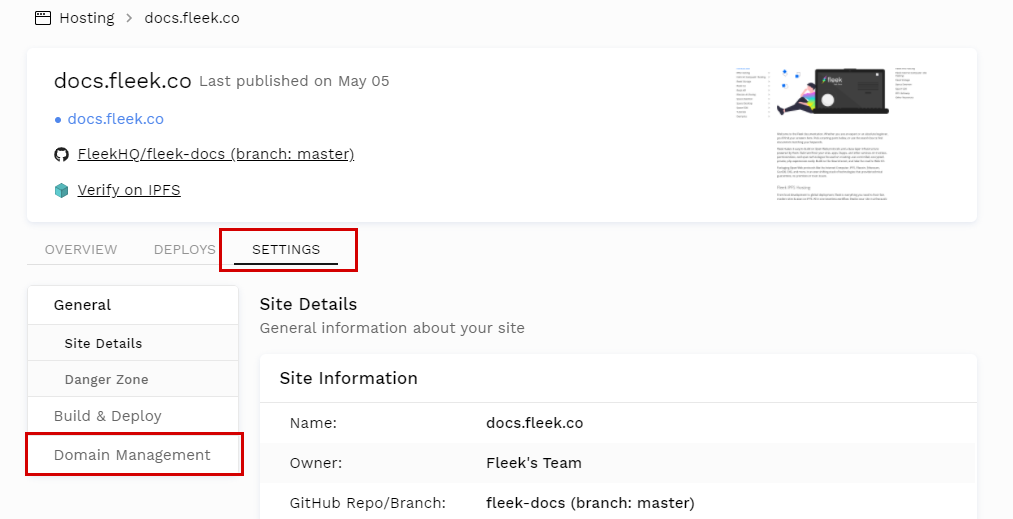
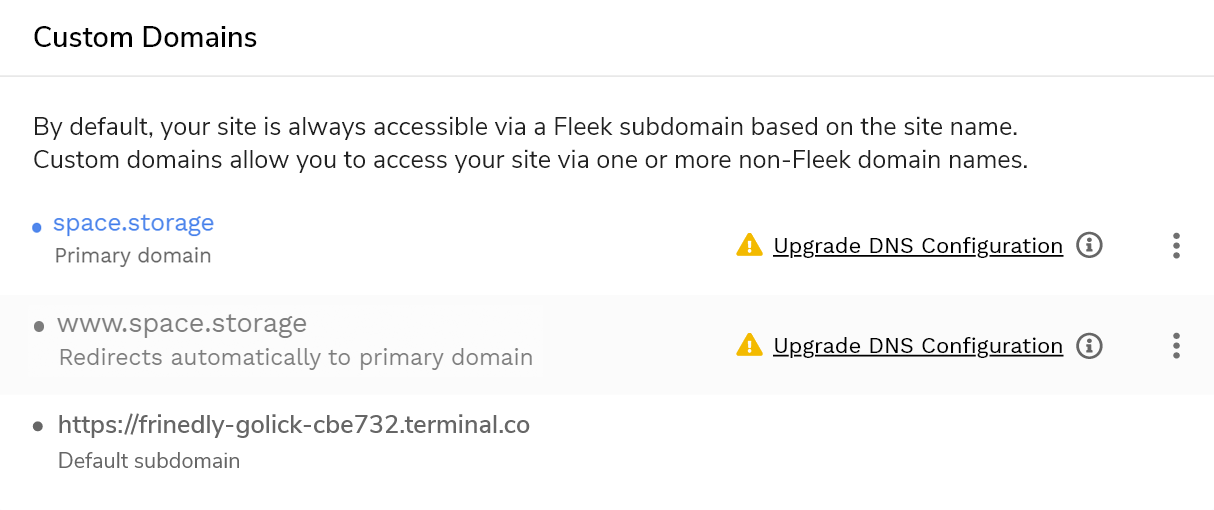
Another quick way for verifying if this is the problem is visiting the domain management tab on your site and seeing if the "Upgrade DNS Configuration" message is present.
If that is the case, you will need to set new ANAME/ALIAS records for your main root domain, and CNAME record for your subdomains. If you have DNSLINK activated, you will also need to update those records as well to the new configuration.
Types of DNS Records Fleek Supports
You will need to set an ANAME/ALIAS record for the root domain, and CNAME records for your subdomains (www or other subdomains). If you have DNSLINK activated, it will also ask you to configure a CNAME record.
ANAME and ALIAS are interchangeable terms, and you might see one platform name the record either way. In both cases, it would work.
Can you use IP addresses as records?
No, we no longer support configuring custom domains using IP addresses. We only work with ANAME/ALIAS and CNAME records. If you use Google Domains, there is an exception mentioned below.
Can you use an A record instead of ANAME/ALIAS?
No. A records are not the same as ANAME/ALIAS, and trying to configure your DNS domain with one will fail the verification process in Fleek.
DNS Provider doesn’t support ANAME/ALIAS records?
Some providers, like Google Domains and GoDaddy don't support ANAME/ALIAS records. You have two options to resolve this.
1) Transfer your domain to a compatible provider.
If your Domain Registrar / DNS provider doesn't support ANAME/ALIAS records, you can transfer your domain to a different platform that does support them. Some services facilitate this, like Namecheap. But the transfer process varies, and it can take time.
2) Change your domain's nameserver to Cloudflare. (Recommended)
This is our recommended solution. Instead of initiating a domain transfer process, you can instead change your domain's nameserver to point to Cloudflare and manage your DNS settings in Cloudflare.
Cloudflare supports ANAME/ALIAS records. They need to be set as CNAME in Cloudflare, but they are auto-detected, and work properly.
This doesn't require you to transfer your domain, it is quicker, and free.
Changing domain's nameserver to Cloudflare to set up my Fleek DNS records.
First things first. You need to sign up for a free Cloudflare account.
Cloudflare provides a detailed guide on how to configure your nameserver on your other providers to point to Cloudflare. Here is a step-by-step guide, with specific guides for all different DNS provider platforms (see the table at the bottom of this article).
Once you have updated your domain's nameserver on your old provider to Cloudflare's, you can start managing your DNS records from the DNS app in your Cloudflare account. Here is a guide from Cloudflare on how to do so.
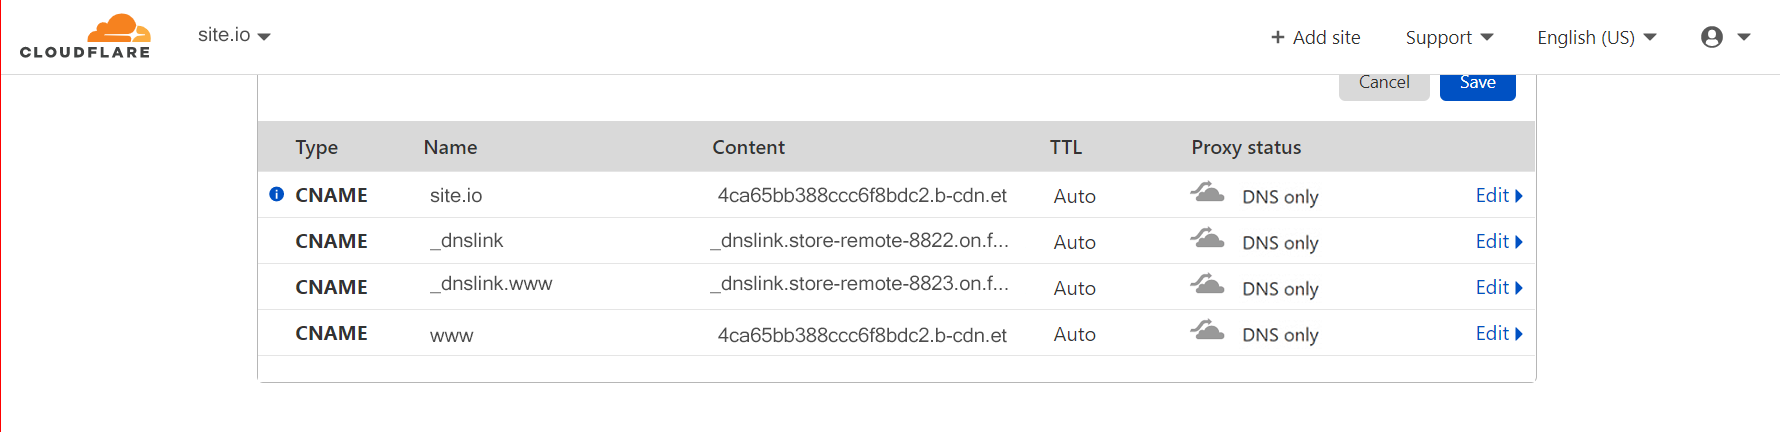
Ready to add your new Fleek DNS records in Cloudflare? There are two important details you need to follow:
- ANAME/ALIAS records are set as CNAME on Cloudflare (Cloudflare will detect them)
- When you set up a record on Cloudflare, disable the orange cloud (HTTP proxy).
It is important that you disable the Orange Cloud in all of the DNS records you set on Cloudflare for your Fleek sites/apps. If not, your custom domain will fail verification on Fleek. To turn it OFF, edit the record and click the orange cloud.
This is because when the orange cloud is ON, Cloudflare proxies your site through their CDN. Fleek already uses BunnyCDN to handle custom domains, and provide DDOS protection and CDN benefits in speed, caching, and routing. So they are not compatible, but you won't miss the benefits!
Remember to go back to Fleek after setting your DNS records on Cloudflare, and click on the "Verify DNS configuration button" for each of the domains you configured to complete the process. It might take a couple minutes for your site to reflect the change.
DNS records set up on Cloudflare but fail verification.
Review the last step from the question above. It is important that you disable the orange cloud feature in Cloudflare's DNS app for all your Fleek DNS records. Fleek can't verify your domain if Cloudflare is proxying your domain to their CDN.
Troubleshooting ENS domains
Verifying your .eth domain was linked properly
You can quickly test that the ENS domain is correctly synced with the IPFS hash of the current build by appending .link after the domain. EG: https://fleekhq.eth.link, thanks to a gateway service provided by ENS and Cloudflare. Anyone can access your site this way. Else, you can try an ENS compatible browser like Brave, or install the MetaMask browser extension.
An alternative to eth.link is eth.limo! It's a decentralized option (Cloudflare's eth.link is centralized and can experience downtimes) that was created so that there is not only one Web2 gateway to IPFS+ENS sites. As easy as .eth.link. You just add .limo at the end of your ENS name. EG, http://ens.eth.limo/
Can't access your ENS domain via any browser?
You must ensure that your browser is able to resolve ENS domains. You can test this functionality with Fleek's homepage: fleek.eth/.
It doesn't work? Then your browser might not support ENS domain resolving natively. Here's a list of compatible browsers. However, the easiest way to resolve and visit .eth websites is installing the MetaMask wallet browser extension, that adds support for ENS to any browser.
Have a compatible browser, but ENS domain doesn't work?
It's possible the link doesn't immediately work. Most browsers, if not all of them, will redirect the user to an IPFS gateway and it is possible that the content for that IPFS hash has not yet propagated to the gateway. Wait a few minutes if that is the case.
ENS domain stuck in "pending transaction" after new deployment
If after making a new deployment, you see in the Domain Management tabs in your site that the ENS domain has a "Pending Transaction" alert, you might be experiencing an issue with a stuck transaction.
The most common cause of this is that you were using an ENS domain with Fleek before Fleek started using IPNS to update content records on ENS on each deployment. After this change, all users were migrated to the new IPNS system after they made a new deployment.
However, if for some reason, the transaction that migrated your record to IPNS got stuck (due to shifting gas prices, or an error), it can cause your site to stay in this "Pending Transaction" state indefinitely.
Let's solve this.
1. Visit the ENS Domains App to Confirm the Issue
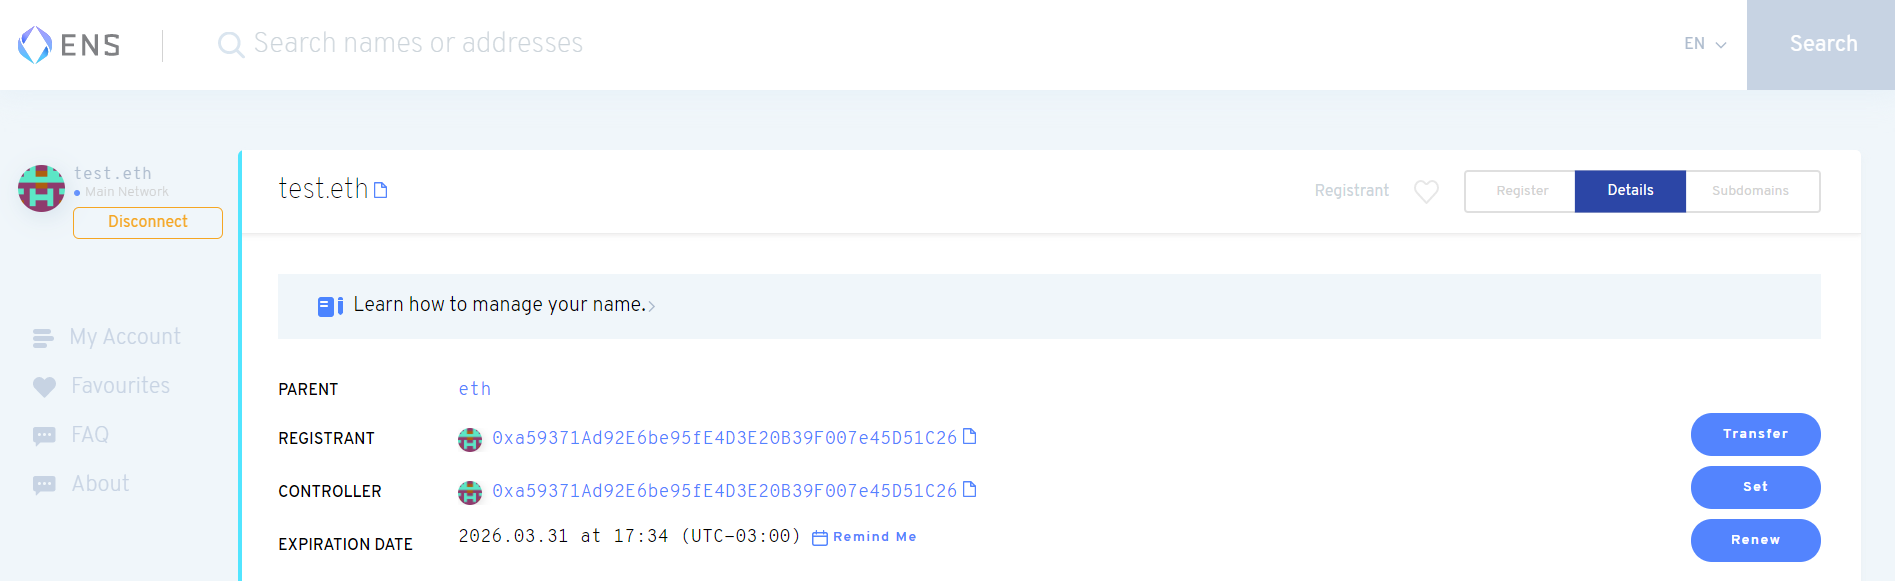
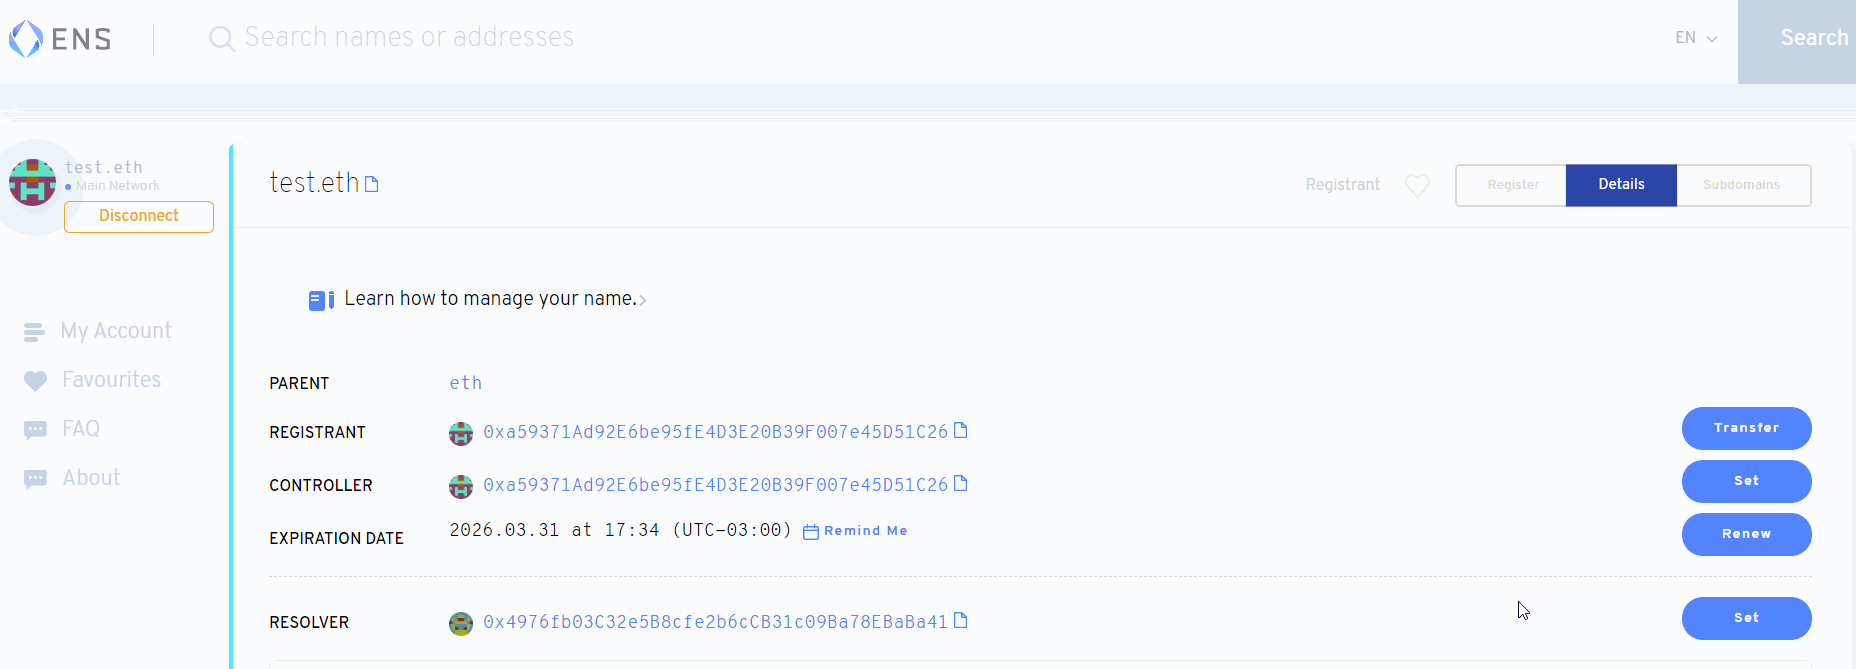
Visit the ENS Domains App and verify your address is the domain's controller. An easy way to check this is to see if the controller address matches the registrant. If that is not the case, then Fleek is possibly still set as the controller.
2. Change the Controller Back to Your Address
If you are not the controller of your ENS domain, re-set the controller to your own Ethereum address to retake back full control. Why do you need to be the controller? You need to be the controller to modify records yourself, which you will need to do in step 4 when you set the new Content Hash for your ENS domain.
You will need to authenticate with a wallet/address to prove ownership of the name, and trigger a transaction to update the controller back to your address.
3. Go back to Fleek, and delete the ENS domain from site
Now that you have permission to edit records on your domain again, you can go back to Fleek and:
- Find the site that has the ENS domain with a pending transaction.
- Delete/remove the ENS domain name from the site.
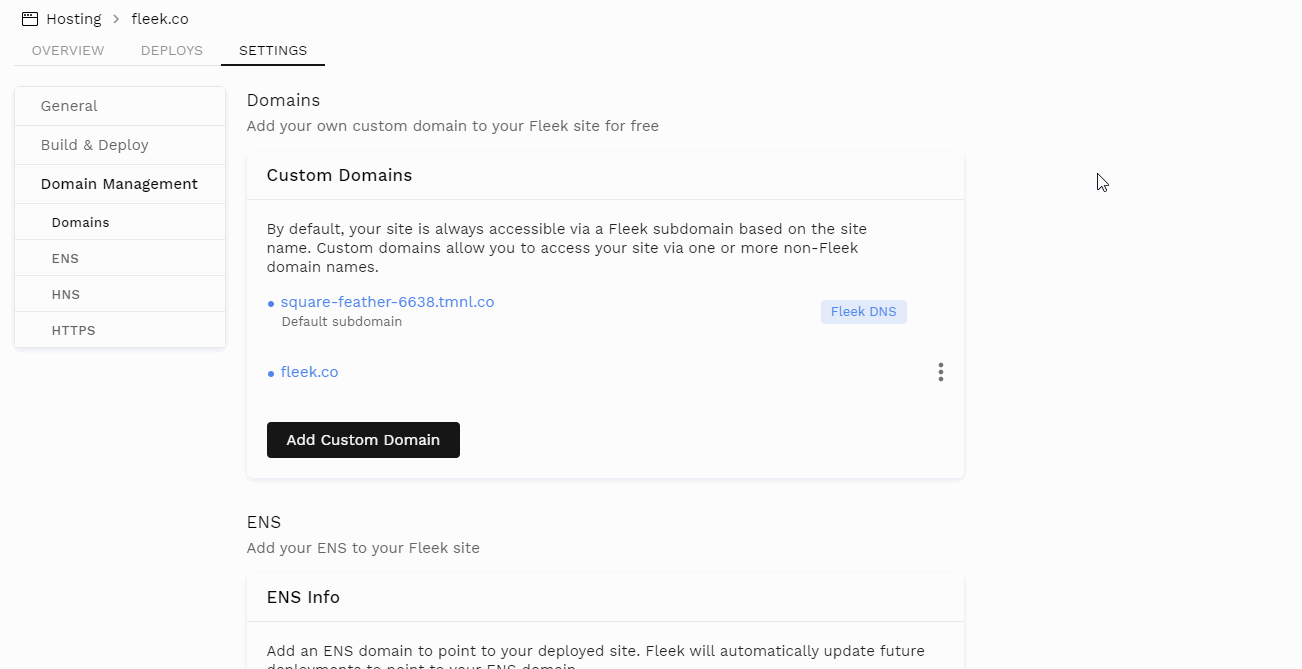
4. Re-add the ENS Domain to your site
After removing it, you can add the ENS domain name back to your site, but this time since you are the controller, you will be able to verify, and Set the Content Hash for the new IPNS record yourself.
This is done by triggering a transaction verification flow using MetaMask, or any compatible wallet, in which you modify the content hash record on your domain to your new IPNS address.
Troubleshooting HNS Domains
Can't access your HNS site from any browser?
Handshake domains live on the Handshake blockchain, much like ENS names live on Ethereum, and are not yet fully supported/resolved but most browsers.
You can use hns.to to quickly verify that your new site is up. hns.to is a Handshake resolver, you can use its search engine to find your site, or append at the end of your HNS domain name my.site.hns.to to view it over HTTP.
Another option is to use an HNS compatible browser or extension, like PUMA, or the LinkFrame extension for Chrome.
If you want, you can also change your devices' DNS to point to HNS resolving ones, like HDNS; or go all the way and install Handshake's node, hds to resolve their domains trustlessly.
For more options, visit Namebase's guide detailing all available options by technical level.